blog
MOPPA blog features tips from our members, photography information, upcoming events as well as event recaps.
Challenges of Underwater Photography
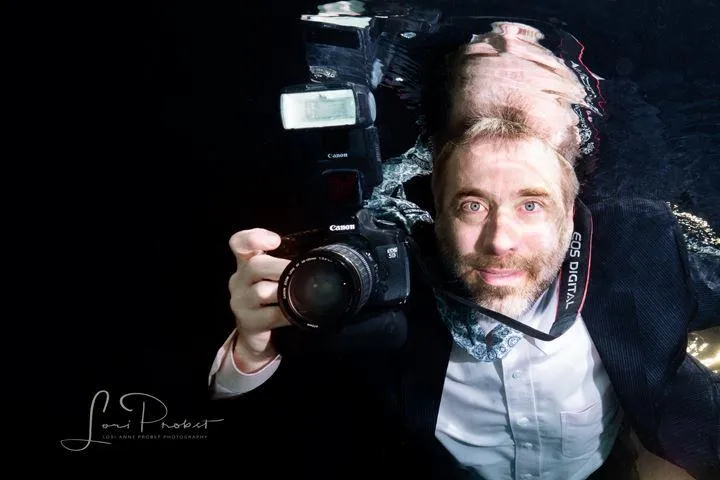
Underwater photography is challenging. Understanding how water affects a subject, the use of special underwater equipment, ambient or artificial lighting choices, gravity, posing, props, and clothing choices if your subject is a human, post processing, a love for being underwater, and a gigantic dose of patience are all needed to be proficient. Here are a few more tips to help make it a successful experience.
GET CLOSER AND HERE IS THE WHY
The most important part of underwater photography is to get as close as possible to your subject. Our eyes need air to focus, this is why we wear a mask when diving but even with a mask there are still optical effects due to light traveling at different speeds from the air to the water. When light travels from air to water, it changes, shifting its course and creates refraction in the water. Refraction magnifies everything by 33% which makes objects look larger and closer. So while I may think my subject is reasonably close, I know I have to get even closer because what my eyes and brain thinks and sees, are not actually correct.
Water absorbs light and as you descend, light and colors dissipate quickly due to the fact that light reflects off of the surface, scatters off particles in the water and the water absorbs the light. This occurs unevenly which is (one of the reasons) why images are filled with backscatter or looks dull. When you reduce the amount of mater between the camera and the subject, images are sharper, more colorful, and the amount of particles in the water are reduced, reducing backscatter.
A wide angle lens is most commonly used for photographing people, fitting the whole body into the frame and decreasing the amount of space between the camera and subject. A 50mm, 85mm, or 100mm lens may also be selected for a headshot and when doing so, I may inches from their face. Get closer!
Underwater photography is challenging. Understanding how water affects a subject, the use of special underwater equipment, ambient or artificial lighting choices, gravity, posing, props, and clothing choices if your subject is a human, post processing, a love for being underwater, and a gigantic dose of patience are all needed to be proficient.

CAMERA AND HOUSING
Your favorite camera will fit into an underwater housing. There are many name brands to choose from, but I would not ever use a bag because the slightest leak will ruin your favorite camera.
For underwater, I use an Olympus OMD EM1 Mark 11 for so many reasons but the two biggest reasons are, in body stabilization and the lightweight body. With in body stabilization, I rarely have a blurry photograph, even if I’m diving in an ocean with a current. My shoulders are not the greatest due to all of my years swimming so a lightweight camera means a lightweight body. The other amazing features of the Mark 11 is it’s bullet 18 frames per second of sequential shooting and using C-AF tracking, I don’t miss much!
Nauticam is my housing of choice and I LOVE it because the buttons are exactly where my camera buttons are and there is an integrated vacuum monitoring and leak detection system meaning I am provided a constant monitor of the watertight integrity. The rubber handles are integrated into the body, and the controls are oversized which is so important for me because when diving in chilly water and wearing gloves, the controls are easy to use.
LIGHTING
As I stated earlier, water absorbs light and the deeper you go, the darker and duller all objects become. With a pop of a flash, all of the sudden a grey object at 60 feet under will show all of it’s true beauty. So why would I use strobes when I am in a pool, three to five feet under? Because I have them! Seriously though, there is still a loss of light and I am trying to create portrait lighting styles similar to land portrait photography and note I said, trying. When using strobes, I use two, the strobes are pointed evenly out, or slightly outward and slightly behind your lens. If the strobes are pointed inward toward the subject, backscatter will show up on your subject and anything black in color. I am currently experimenting using my strobes in manual mode, and playing with positions to create shadows and depth on my clients and models meanwhile avoiding backscatter that occurs if I were to place the strobes as I would in any on land portrait session (45 degree angle, above client etc.) It is a challenge. I want to see what can be done and how can I give depth to my underwater images.
My strobes are connected by fiber optic cables running from the strobes to my housing. In my housing is a mini flash trigger which is located on my cameras hot shoe. This mini flash trigger allows me to obtain 10 frames per second!
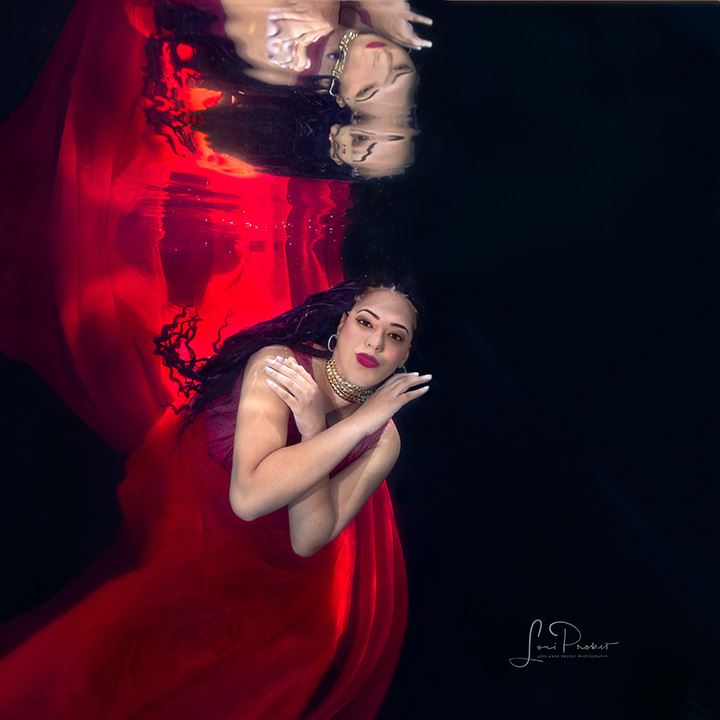
Ambient light is fun to play with also, it creates waves of light across the face and body. Position your subject to create natural shadows and depth.
2. Convert traffic into leads
Blogging helps your website to be more than just a place for people to visit. It gives them the opportunity to interact with your business in a way that isn’t possible through other forms of content on your website. By blogging, you have the ability to help drive traffic back to your website and convert that traffic into leads. For example, if you blog about an important industry event and share it on Facebook and Twitter, you can expect a boost in new signups to your email list or visitors to your website.
WATER
Fresh, saline, salt, and chlorine. These are the types of water one can photograph in and listed in order of preference for photographing people underwater. Chlorinated water creates waves not visible to the human eye which is due to the chemicals. Photos may be hazy, cloudy and hurts your subjects eyes, turning them red. The challenges of photographing in salt water is buoyancy, currents, fish, sharks, and it can sting eyes also. Saline pools photograph wonderfully but fresh water is the clearest and typically really cold.
With all water, the particulate matter is present and the amount depends on water conditions. White floating things, undetectable with the eye, are my nemesis to underwater photography!
White balance is also a challenge and just as it is on land, white balance changes with each situation, environment or backdrop change. Everything tends to look blue and green underwater because the sunlight carries a full spectrum of colors, but the red and orange wavelengths of light are absorbed by the water much more quickly. Again, this is the reason for the use of strobes. Custom white balance can be achieved by targeting a white fin or going though your white balance options in camera. I typically use 5400 kelvin in the pool but it just depends on backdrops and the subjects skin. And of course there is always post processing to adjust white balance.
SINK OR FLOAT
Place a rock in the pool, it sinks. Place a balloon in the pool, it floats. Now place a human in the water, he or she will float. Why? Because basically there are two giant balloons of air in our bodies, our lungs. The human body is less dense than water so that fact plus air is in our lungs result in the body being pushed upwards by the water. It’s a gravity thing which I am not going into.
When scuba diving, a diver wears weight belts and creates a neutral buoyancy, taking a deep breath to rise and exhaling to sink. However, in the pool, we just want to sink so in order to achieve that, the balloons must be deflated in a way, the air in the lungs needs to be dumped out.
Every single person, particularly swimmers, take a deep breath before going under. For portraiture, all air must be blown out in order to sink, a scary thing to do!!! Some people are more dense than others so they are able to sink. More dense equates more muscles, less body fat. Thus, typical maternity underwater shoots are a challenge as the maternal body stores extra water and the breast mass is more fatty, making it difficult to sink. A trick is to put a 2 pound weight between the breasts or in spanks or some tight underwear. Sometimes I also tell a client to hook their foot around a 25 pound weight I have at the bottom of the pool. Material they have on will cover the weight or I will post process warp the material to cover the weight and their foot.
POSING
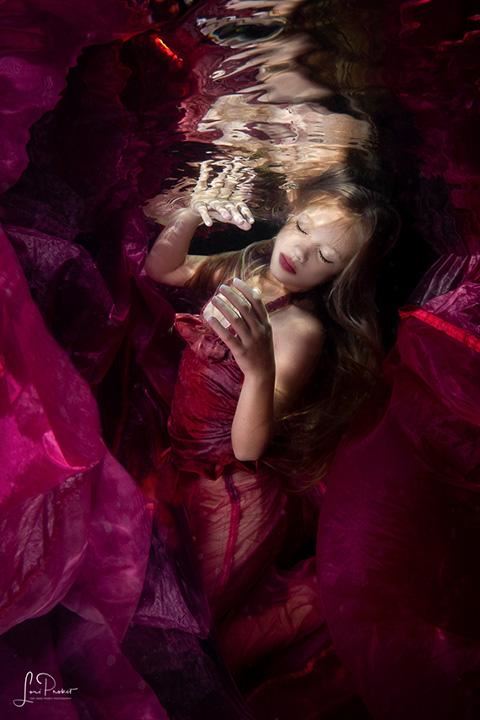
Before we both submerge, one pose is discussed then we let all of our air out and submerge, surfacing whenever the subject needs to. Some people can tolerate a long time without air, others are up quickly, there is no right way here! Adjustments are made with each resurface. When underwater, the subject can not see me because remember your eyes need air to focus so they just see a blur therefore, I cannot give instructions underwater as I would on land. Tiny adjustments are made before each submersion and this is the session, up - down - up - down. Posing is very slow and intentional.
PROPS and CLOTHING
Like a rock and balloons; wrought iron and computers sink, balloons and flowers float. Props are so fun. I’ve sunk chairs, a phone attached to a table, a baseball, a tennis ball, a computer, scooter, birthday candle, cameras, and instruments are my next goal.
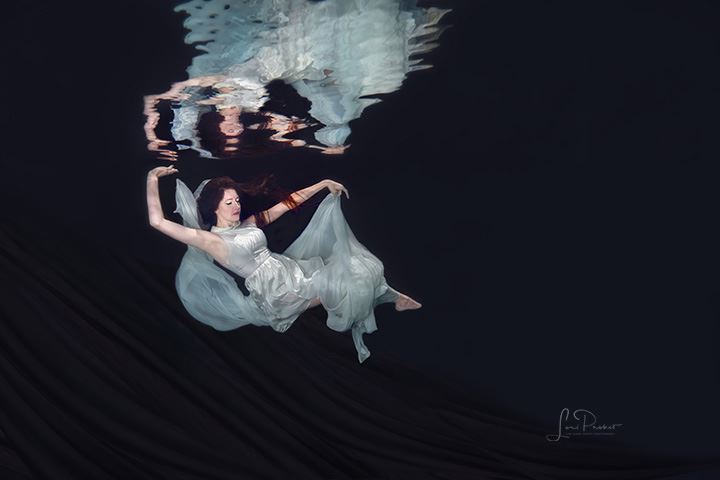
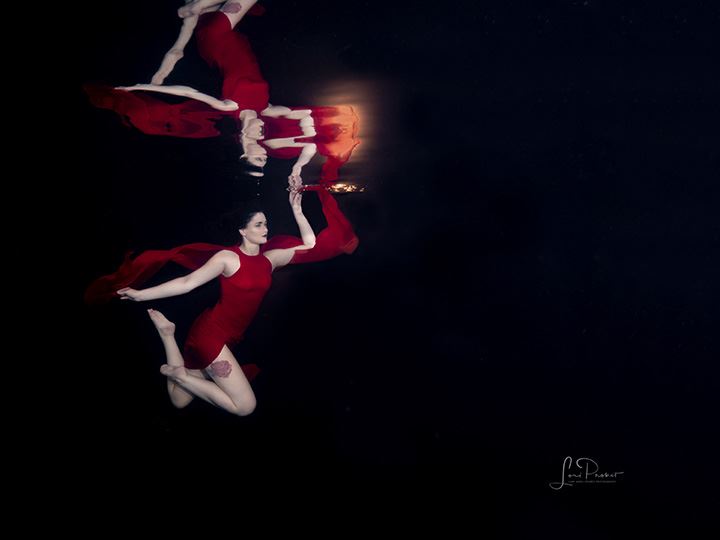
Clothing is anything that flows and is bright. Make your own outfit, shop at Goodwill & thrift stores or use what the model below used, a parachute. If it has movement, it will work! The color choice will also reflect on your subjects skin so paying attention to skin tones and color selection is very important. Chiffon is the material of choice. Tulle sinks and is difficult to move in but my pool is 5’ 5” so I am comfortable sinking someone in Tulle. I would never photograph a tulle "Trash the Dress" in the ocean. Deaths have occurred this way so your fabric choice is important for safety.
POST PROCESSING
Post processing for underwater portrait photography, I believe, has a very large learning curve due to skin colors, material worn and all of the particles in the water. With trial and error, I finally have a routine as to how I process my underwater images. It generally takes me 5-7 minutes for portrait re-touching but for underwater, multiply that by four which is why my underwater images cost four times as much.
PATIENCE
Now you can see why patience is so important. Patience to understand the water, knowing your camera and housing so well that you could use it in the dark. Patience with lighting either experimenting with strobes or working with your available natural light, positioning your subject for the desired outcome. Patience learning to work with the water you have available, embracing that particles in the water, and adjusting white balance. Patience working with others, developing a very big trust so they are comfortable letting all of their air out, constantly up and down, and working with clients that cannot sink. Patience with post processing, which requires a lot of time experimenting because there is not a lot of guidance with this
WRAP IT UP
There is nothing more graceful, intriguing, and stunning than a human form underwater, once comfortable. It seems to take about 20-30 minutes of a person choking on water due to it entering the sinus cavity and trying to figure out how to sink before they begin to relax. Once relaxed, it is like a light bulb was turned on and then beauty is created. The subject begins to dance, to explore, and move their body in ways they cannot do on land. Once the subject lets go is the time that beauty is created. Underwater photography is challenging but the rewards outweigh the "challenge"!

Lori Probst
Lori Anne Probst Photography, St. Louis
http://www.facebook.com/lorianneprobstphotography
http://www.instagram.com/lorianneprobst
I have always thrived in the water! I can remember competing on swim team and synchronized swimming since I was just a young girl (yes, you heard me, synchronized swimming, even before it was an Olympic sport) but then I went to college to study Nursing. I met and married my amazingly kind husband (of now 34 years) and talked him into Scuba diving…poor man, there was not going to be a “No” out of his mouth! So, 32 years later, we have been diving ever since (and he loves that I made him do this ‘“for me”, don’t ya love marriage!!!)
I am a wife, mother, grandmother, dog lover, fish lover, Monarch Butterfly Raiser, and nurse. I am an active woman who snow ski’s, lifts weights, cycles, and scuba dives. I am also a photographer who began with no intention of my skills ever being used for portraiture or even beginning my own business, however, I found I love capturing “people moments” so I “retired” from my life long nursing career and now my camera is my full time passion! I have traveled all over the states learning from the best photographers, mentored one-on-one, attended seminars, studied other’s work, took college courses, all for the pure love and joy of photography. Then one day, God opened a door. With full trust, I followed His path and I am so happy I did. I love photographing newborns, children, and maternity, however, my true love is for Underwater Portraiture or Aquatic Portraiture. There is something about photographing life underwater that is uniquely intriguing, graceful and looks fascinatingly beautiful, no matter what sex, size, shape, race, or age. I sometimes feel as if I am part mermaid, called to the water as the ocean stirs my heart, inspires my imagination and brings me such joy and inspiration to my creative soul!
ready to join?
Join the mailing list
Stay updated with MOPPA activities, educational opportunities, and news. Join the mailing list.
ON SOCIAL
Member Resources
© MOPPA.COM | ALL RIGHTS RESERVED | TERMS & CONDITIONS | SITE BY MOPPA


